I've just submitted this app for Hashnode Christmas hackathon so I wanted to talk about it here in more detail.
I didn't have a chance to work with HTML canvas and the Canvas API, so this hackathon gave me a nice reason to dive right into it.
I also wanted to add something unique to make the result more magic, so I added a dynamic color brush and dynamic width brush. Turns out that this effect indeed looks more magic and dream-like.
Tech stack
- React (with custom React hooks)
- Canvas API
- Native color picker and range inputs
- Font awesome icons
- Netlify hosting
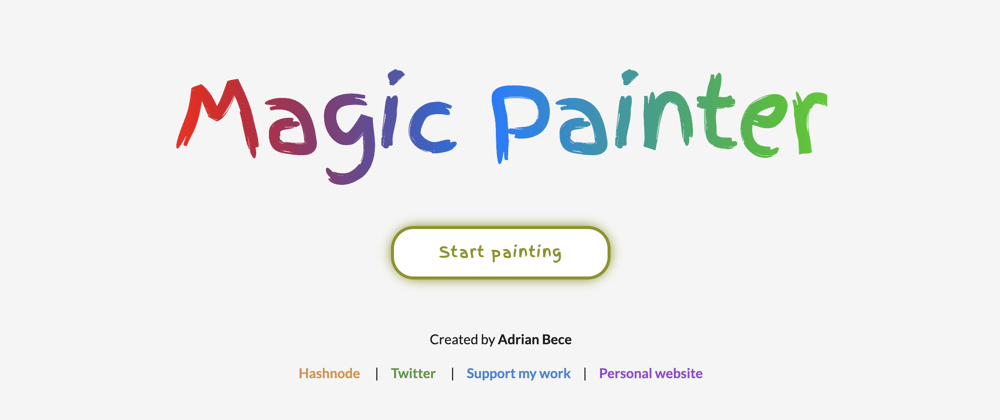
Intro screen
Since I'm primarily a frontend developer and I want to pay special attention to design and details, I've wanted to create a nice splash screen for the app. I was inspired by the watercolor and paint set box designs.

I remember when I was buying paint sets for school, I was impressed by the images on the boxes. They showed a beautiful painting and were basically communicating "You can paint this beautiful image with this set". So I wanted to mimic that feeling with the splash screen.

If you wonder how I managed to overlay a gradient on the heading text, here is a code snippet.
  background: linear-gradient(
    90deg,
    hsl(0, 100%, 50%),
    hsl(211, 100%, 50%) 50%,
    hsl(108, 100%, 40%)
  );
  -webkit-background-clip: text;
  -webkit-text-fill-color: transparent;
Custom hook
I've added the painting functionality with event listeners and Canvas API using a custom hook that returns a bunch of states and functions that are required for switching brushes, setting up a Canvas ref, and keeping track of active states.
Dynamic color and brush width
This is where the magic happens. In the magic brush mode, I'm shifting the Hue value of HSL color for each paint event. The resulting effect is a wonderful color gradient. I've also added controls to change the color gradient saturation and lightness for more options and moods.
ctx.current.strokeStyle = `hsl(${hue.current},${selectedSaturation.current}%,${selectedLightness.current}%)`;
ctx.current.globalCompositeOperation = "source-over";

hue.current++;

if (hue.current >= 360) hue.current = 0;

Similar to the magic brush mode, I've also added a dynamic width mode that changes brush size value up and down between the minimum and maximum value. When combined with the magic brush mode, you can create some awesome art and effects.
  const dynamicLineWidth = useCallback(() => {
    if (!ctx || !ctx.current) {
      return;
    }
    if (ctx.current.lineWidth > 90 || ctx.current.lineWidth < 10) {
      direction.current = !direction.current;
    }
    direction.current ? ctx.current.lineWidth++ : ctx.current.lineWidth--;
  }, []);

App demo
https://magic-painter.netlify.app/
Source code
Post the art you create with the app in the comments! :)
If you enjoyed this post on my hackathon project for Hashnode, check out my hackathon project for DEV x DigitalOcean

These articles are fueled by coffee. So if you enjoy my work and found it useful, consider buying me a coffee! I would really appreciate it.

Thank you for taking the time to read this post. If you've found this useful, please give it a ❤️ or 🦄, share and comment.


