
Adding Custom Fonts to React Native App is quite easy and only needs a few steps. I am writing down the steps I did to add custom fonts to my app.
Download Google Font
First, you need to download your desired fonts from google fonts.
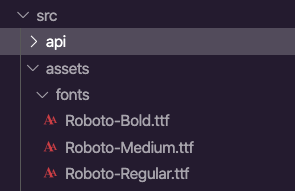
Add fonts to app folder
Create a fonts folder in your src/assets folder on root directory level and paste downloaded fonts files in it.
Export fonts
Now create a file named react-native.config.js at the root of your app and add the path of fonts folder like this
module.exports = {
   assets: ['./src/assets/fonts'],
};
Link assets to project
After adding this, run link command in your project folder.
npx react-native link
Link command will add font files into assets folder in the android folder of your app and to info.plist file in the iOS folder.
Add resources to target
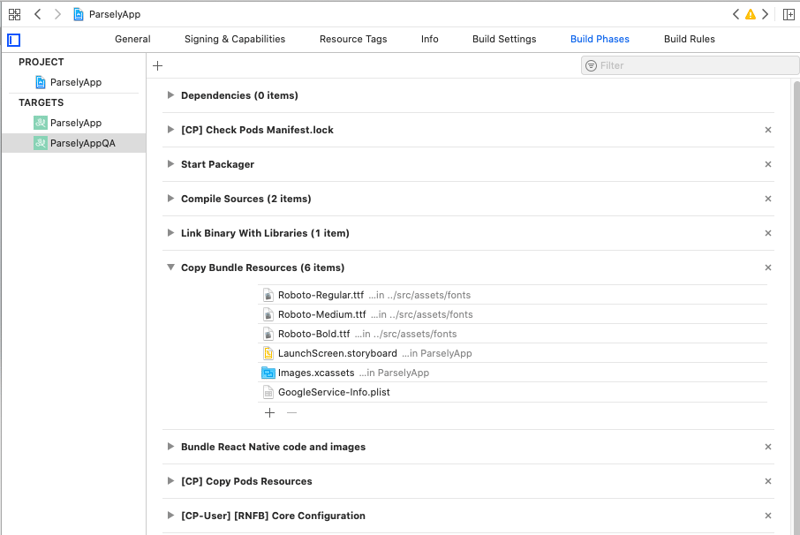
Now at this point, your custom fonts will start working for the android app but you need to do one last step to make it work for iOS.
Go to the desired target of your app in Xcode, select the Build Phases tab, and add font files in the "Copy Bundle Resources" tab as shown below.
And you are done! 🎉 🎊
You are welcome to share your thoughts in comments