⚠️ Update: Heroku does not offer hosting free PostgreSQL database any more. Instead, you can set up a PostgreSQL database for free with Supabase.
Heroku offers a free plan for hosting PostgreSQL databases. This can be handy if you're getting started with a new project or "just quickly need a hosted database" for experimentation or prototyping.
This guide explains how to quickly setup a free PostgreSQL database on Heroku. You can learn more in the Heroku Postgres documentation.
TLDR
In order to create a new database on Heroku, you first need to create an app in your personal dashboard. Then you can attach a Heroku Postgres instance to it as a resource.
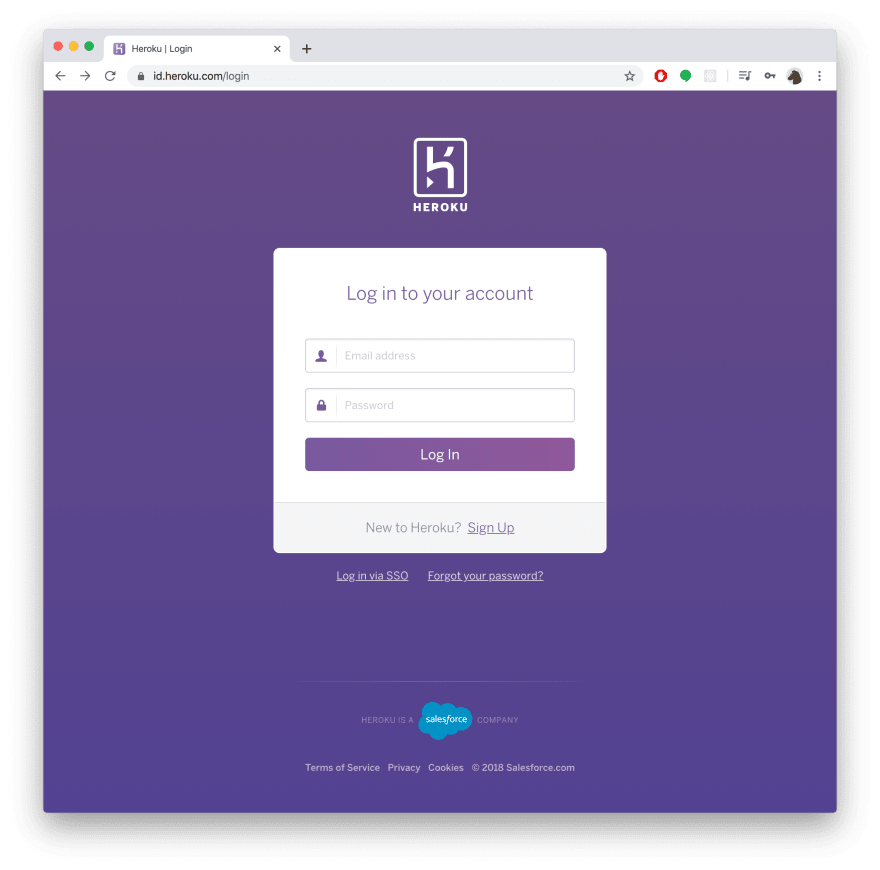
Step 1: Log into Heroku
Navigate your browser to https://id.heroku.com/login and log in. If you don't have an account yet, you can sign up via the Sign Up button below the login form:
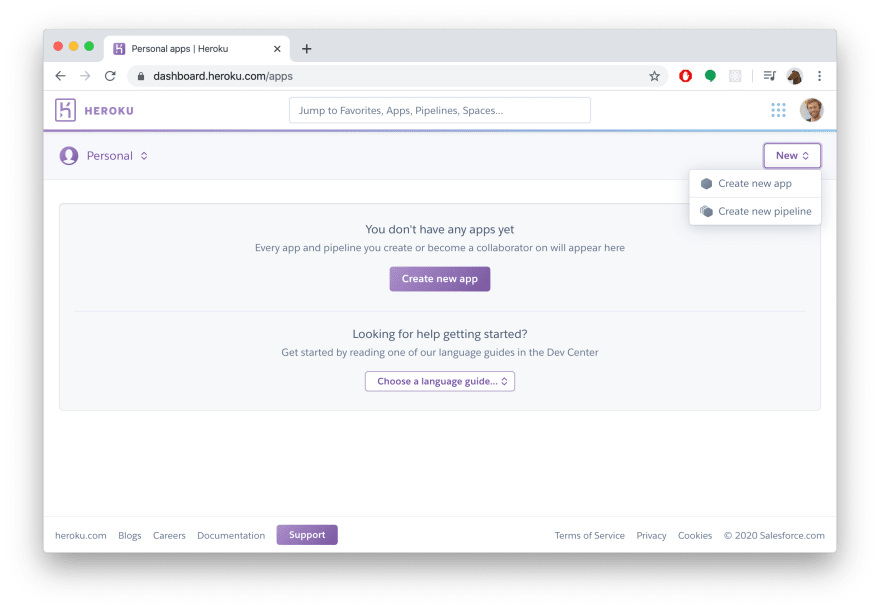
Step 2: Create a new Heroku app
Once you see your personal app dashboard, you can create a new app. If your dashboard is currently empty, you can click the Create new app button. Otherwise click the New button in the top-right corner and select Create new app:
Since you only need the app to get access to your database, the App name doesn't really matter and you can choose whatever you want. In the screenshot below, get-my-db is used as an App name:
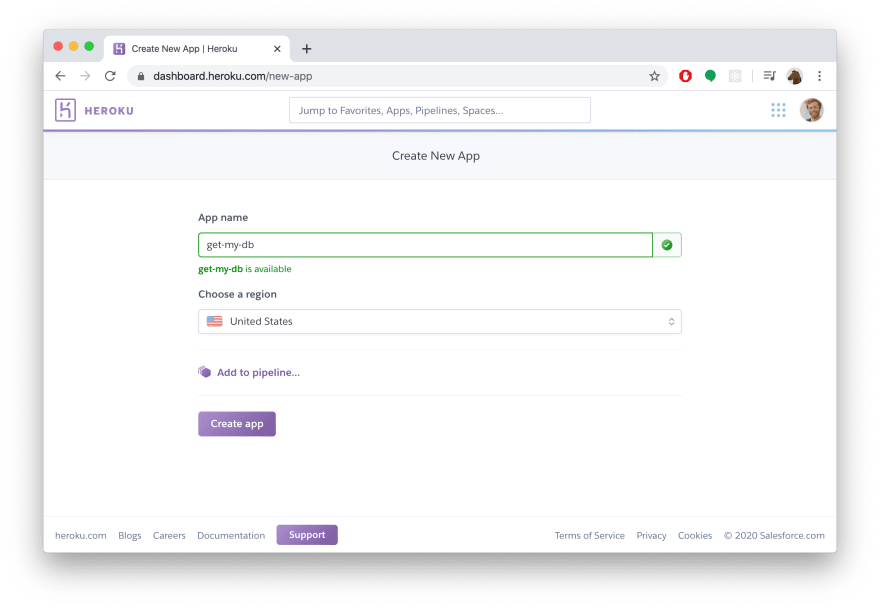
If you want, you can also change the Region so that the database is hosted closer to where you are located.
Once you've provided the App name, you can click the Create app button.
Step 3: Add a PostreSQL database
To attach a PostgreSQL database to the app you just created, you need to navigate to the Resources tab in the header of your newly created app's dahsboard. Then type Heroku Postgres into the Add-ons search field.
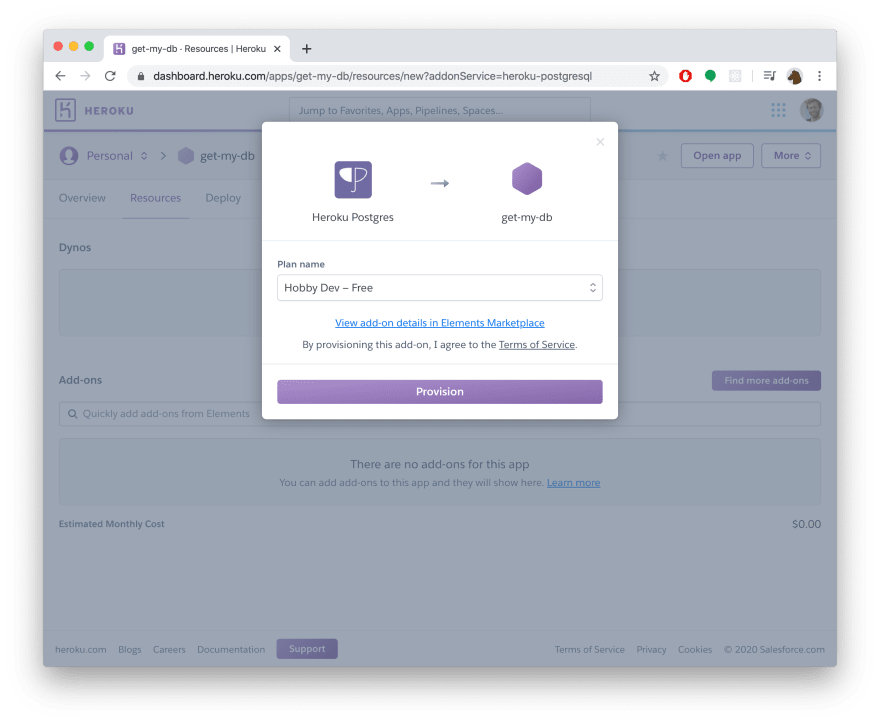
When shown, select the suggested Heroku Postgres add-on from the dropdown:

The next popup asks you to choose a pricing plan for the database. Select the Hobby Dev - Free plan and click Provision:
Congratulations, you now created a free PostgreSQL database 🎊
Step 4: Access the database credentials (and connection URL)
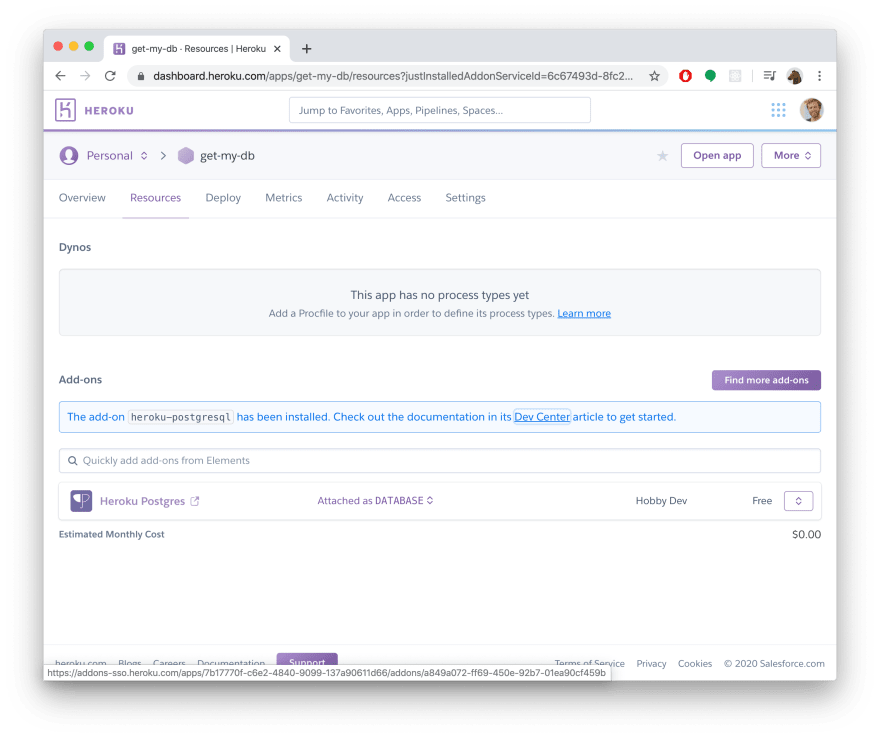
To find the credentials and the connection URL for the PostgreSQL database, you need to navigate to the Resources tab in your app's dashboard again and select the Heroku Postgres resource:
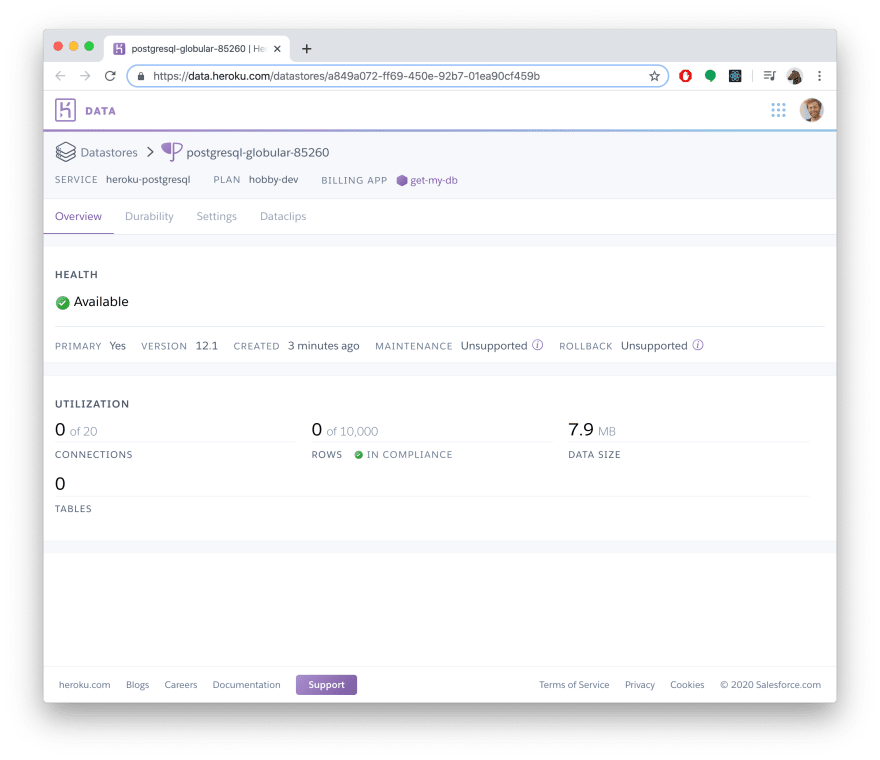
This brings you to the configuration screen of the your PostgreSQL database:
Now select the Settings tab in the header of that screen:
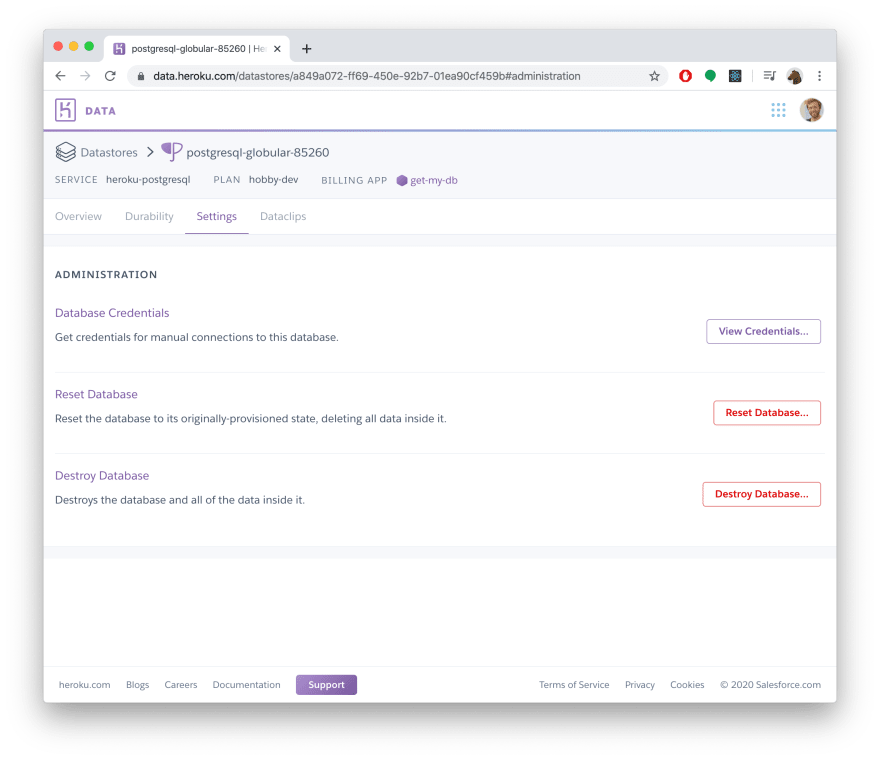
Here, you can click the View Credentials button to see the credentials of your PostgreSQL database:
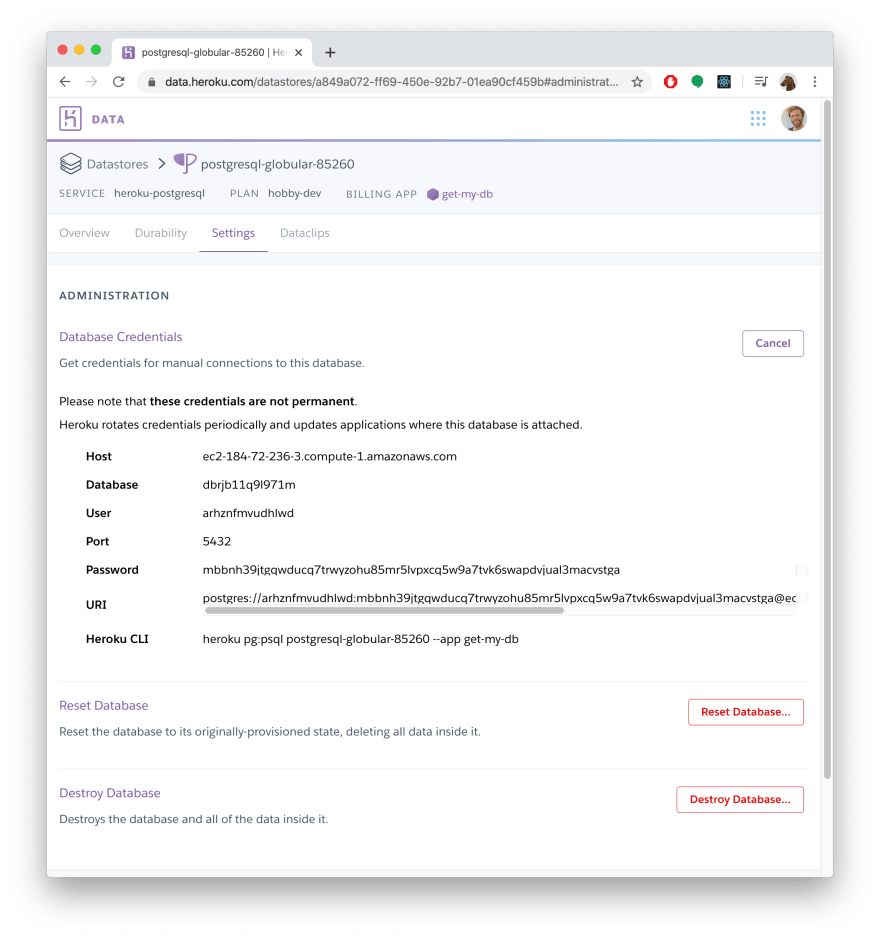
You can use these credentials to connect to your PostgreSQL database from any PostgreSQL client, e.g. psql (CLI), TablePlus or Postico (GUIs).
For further reading, you can check out the Heroku Postgres documentation.
If you want to use this database in a Node.js or TypeScript application, be sure to check out Prisma as an alternative to traditional ORMs. Get started with Prisma here.


